
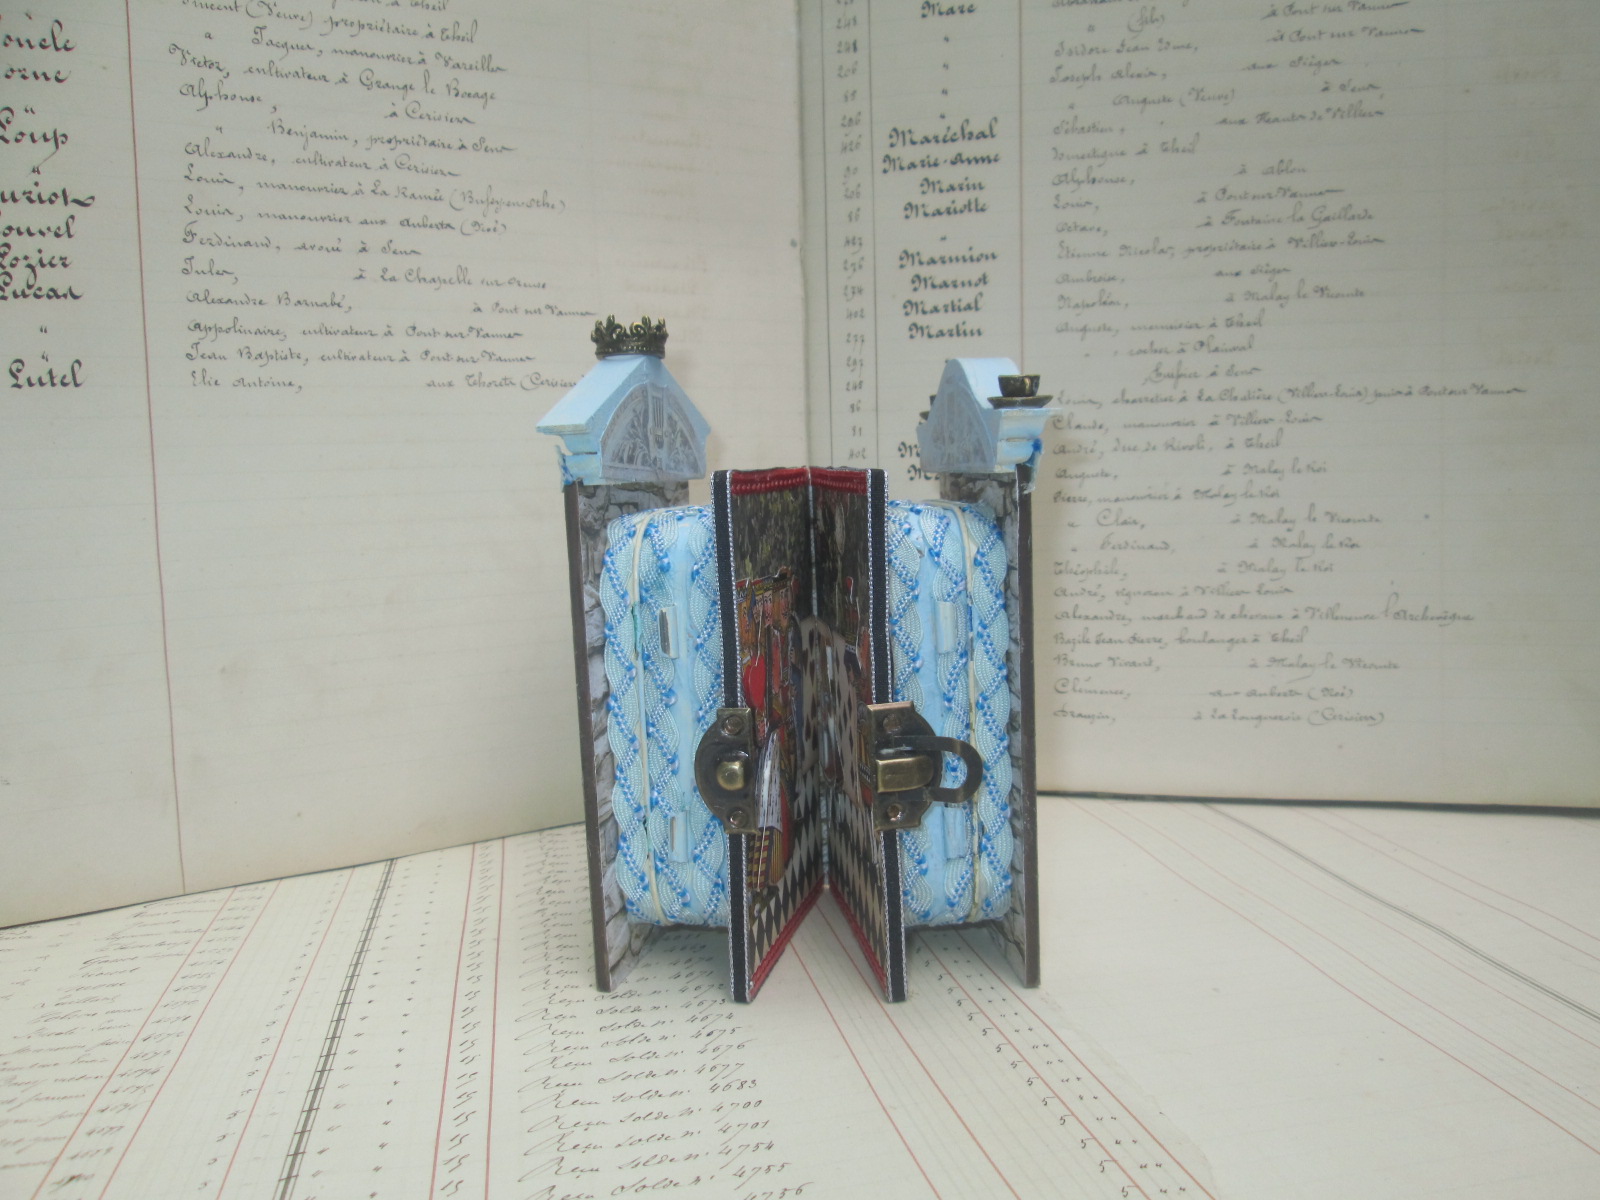
I love new art challenges! This month, with Alpha Stamps "Alice in an Altoids Tin" kit, there were too many cool items to leave out. I had this crazy goal in my head to do a hinged tin book that also opened in the middle and had pediments. I was shocked to have succeeded.

The Oddities Box Doors and Windows is one of my favorite collage sheets that Alpha Stamps offers. Imagine my delight when this new version, Doors & Windows Book Covers, was made . It fits perfectly on the Altoids
Tin Book Covers which I used two sets of on my hinged Alice book.


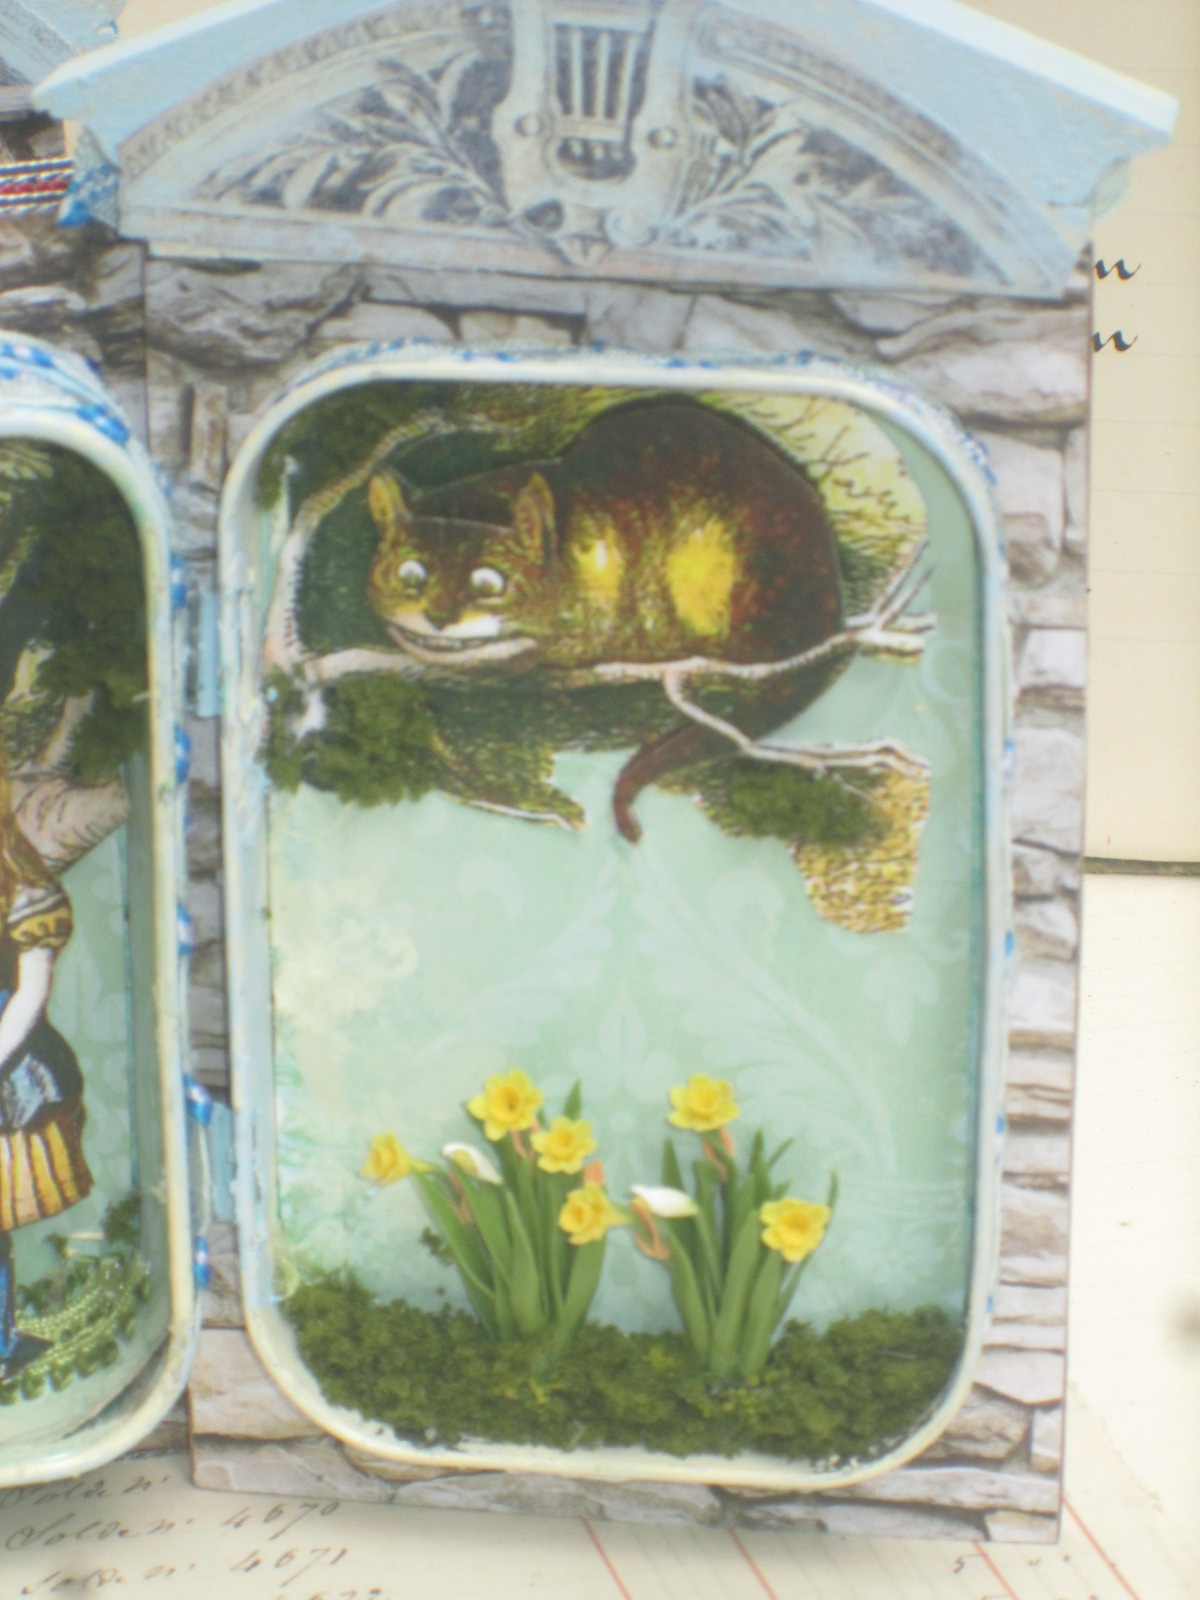
This larger tin, obviously, has a lot more room to play in then the Small Hinged Tins used in my previous post. I was able to create a larger scene using both sides of the tin. And the images from the Tenniels Alice Collage Sheet made it that much easier, once I stopped over thinking it. I was trying to force more of the collage sheet in, then decided to just trim out what I needed and use my imagination more on the backgrounds.

One of my favorite things to do is use several copies of the same image. For example, Alice, Humpty Dumpty and the Cheshire Cat all contain three layers of the same image. The first one is place flat on the tin, the second one is placed over that with White
Adhesive Foam on Roll and the third layer is just the outer most part (Alice's dress, Humpty's body, and the Cheshire cat's face) attached again with the White Adhesive Foam on Roll . It brings more dimension and "wonder" to the piece. Get it? Wonder.... Wonderland, lol.


Another trick I used was to gently remove the tins from one another. There are two flat metal pieces that hold the tins together. By separating them, I was able to have more control over the tin, more ease in opening, and more space to attach embellishments.


I placed a slice of Provincial
Cobblestone Scrapbook Paper in the center of a larger piece of the same (the back side). I knew a little spot of the paper would show and I wanted it to blend in with the rest of the tins.

Next I added a layer of tulle netting to give it some extra durability.


Making sure I had enough room for the book covers to close, I glued them down with a small gap in the middle.


After it dries for a few, trim, fold and move on to putting the whole piece together.

Using glue, I attached my tin, by eye, to the folded section I created. Give it some time to dry and then attach the second half.

Follow with the front and back covers.

Isn't it awesome! Proud art moment!


Rhonda...
Complete Supply List


2 comments:
I just had another look at this project to drink up all the details for later...thanks for all the steps and tips! It's fanciful and wonderful.xo
wow, wow, wow. This is just amazing and I am going to try making one of these. Thanks so much for sharing your creation.
Post a Comment